We are often asked about using switches with the iPad, so in this post, we will review the technical details of connecting switches to the iPad and also different ways they can be used.
Switches can be an excellent way to access an iPad for anyone who can’t activate a touchscreen with their hands nor with other devices, such as adapted styluses and such. The switch allows you to scan through and choose options on the screen.

In order to connect switches to an iPad you need to use a switch interface which can connect via Bluetooth or via cable to the iPad itself. In order to connect, turn on Bluetooth in Settings, turn on pairing on the interface and find its name in the Bluetooth list on the iPad. Pressing on the name of the interface will connect it.

Screenshot of Bluetooth settings
There are many kinds of switch interfaces available. One example is the Blue 2, by Ablenet. This device is an all-in-one, with interface and 2 switches (yellow and white) included as part of the device. There are also two standard ports (sPL 3.5mm) to connect external switches for alternative access points as needed.

Ablenet Blue2 switch interface
Once the device is connected to the interface we have two options:
- Use switch-accessible apps – This option allows for the user to use/play the app with a switch but does not offer switch access to the device itself. This option requires connecting the device to the interface and switches but does not require turning on Switch Control in the accessibility settings of the iPad. There are switch access settings in the app itself.
- Full use and control of the device – requires activation of Switch Control in Accessibility settings. This option allows for control of the device and use a variety of apps. Using switch control in this manner may require greater accuracy and timing of switch use as opposed to the first option.
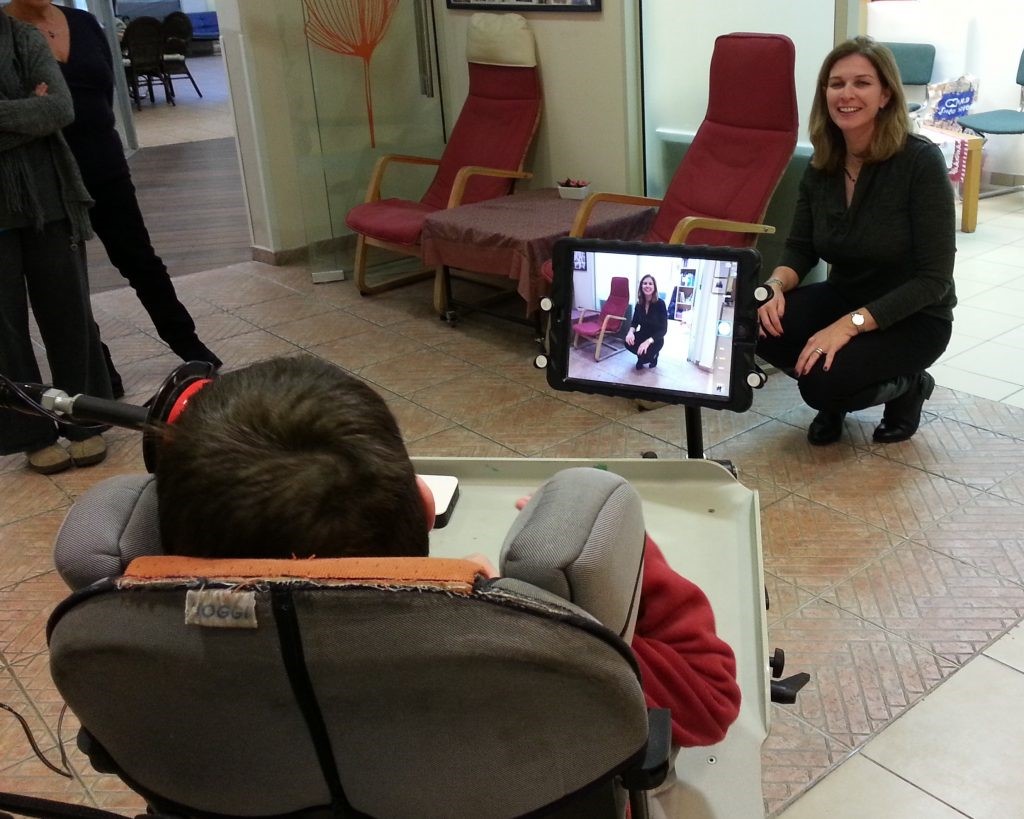
Using switches to take photographs
Following is a detailed breakdown of each option:
Switch-accessible apps – There are many apps available that are developed to be switch accessible. They can usually be used with either one or two switch scanning, or both. In one switch scanning, the first press activates automatic scanning and when the desired item is highlighted the user presses the switch again. In two switch scanning, one switch scans through items and the other selects.
A good example is the Helpkidzlearn series of apps, by Inclusive Technology. Some of these apps are switch accessible and offer great options for play. Once in the app, on the home screen, there is an option to activate switch use.
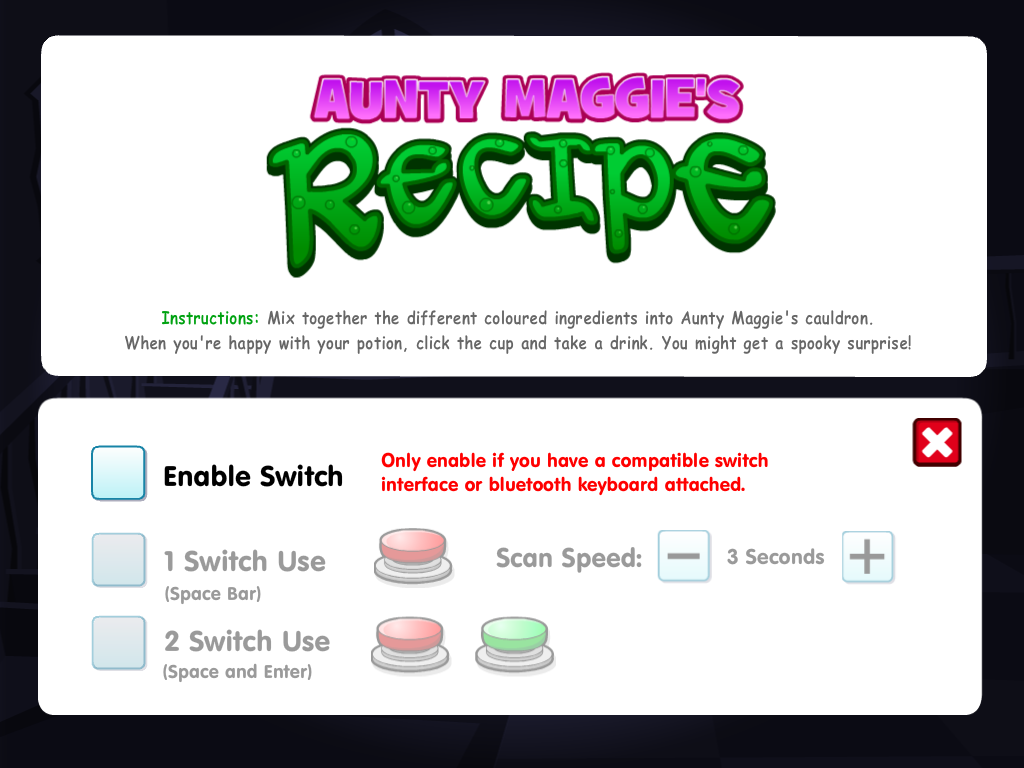
An app from Helpkidzlearn showing switch settings
It is important to note that the availability of switch-accessible apps is constantly changing so it is important to stay updated. There are a few resources available on the internet, one of which is our blog, which has a “Switch Games” section under our recommended apps list. If you know of an app that is not listed please let us know!
iOS Switch Control – gives full control of the device and is turned on in Settings
Settings > General > Accessibility > Switch Control. On this page you set up your switch settings according to the user’s needs and then turn on Switch Control.
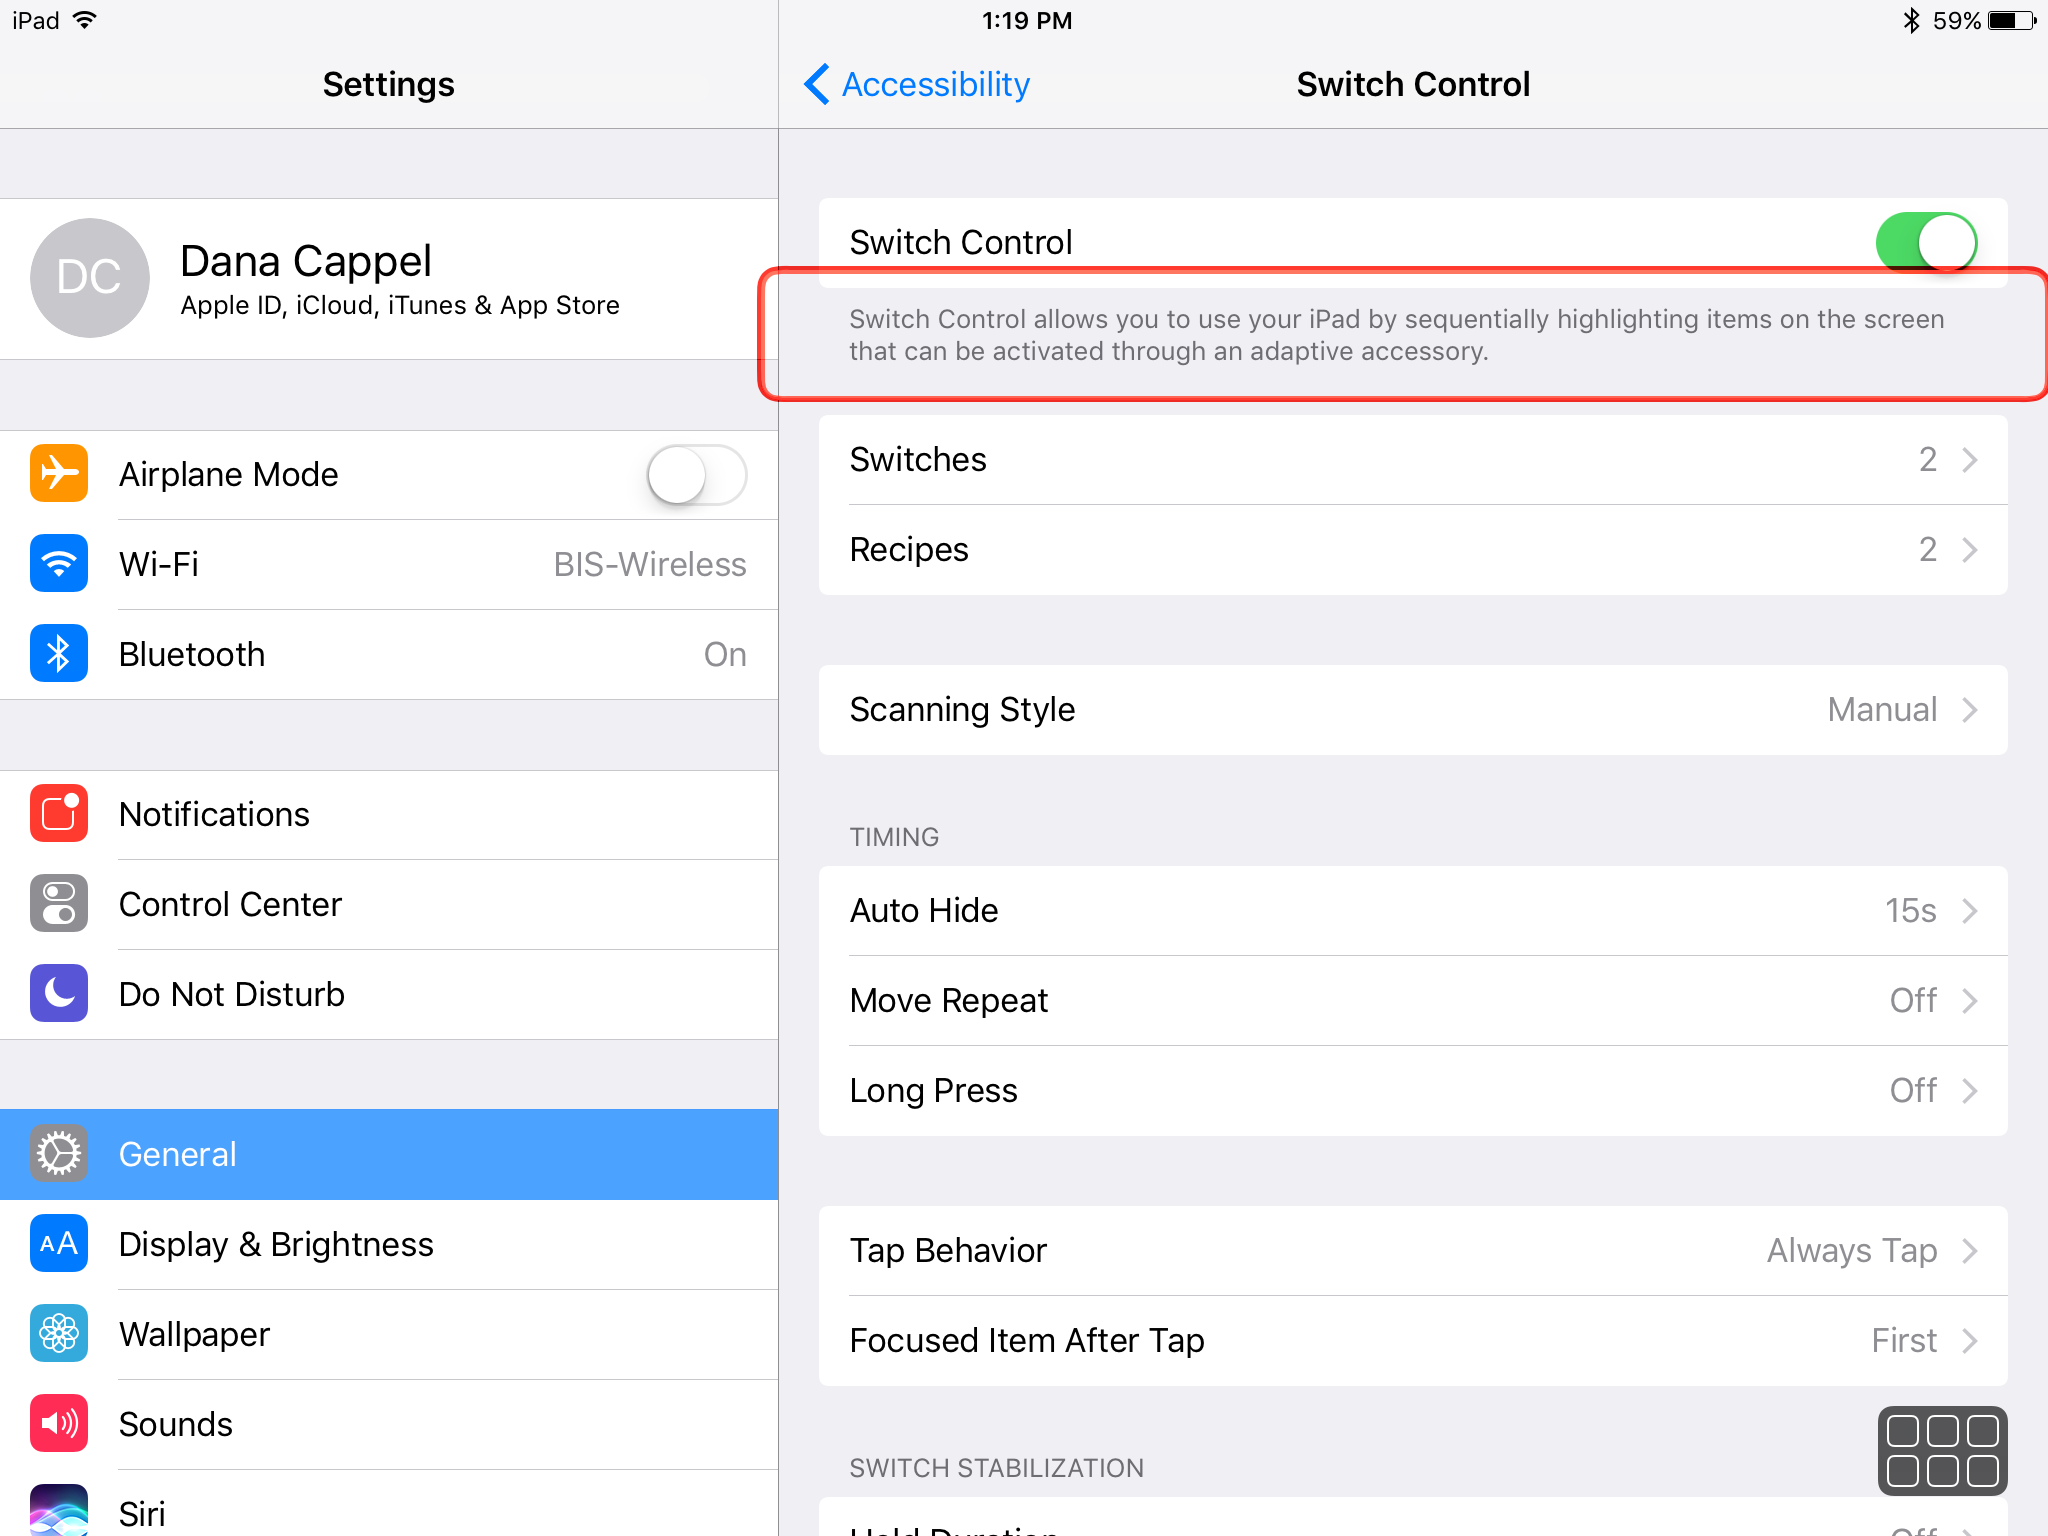
Switch settings
There are three types of scanning:
1. Auto Scanning – the cursor scans automatically through items at a pace specified in settings. Requires the use of one switch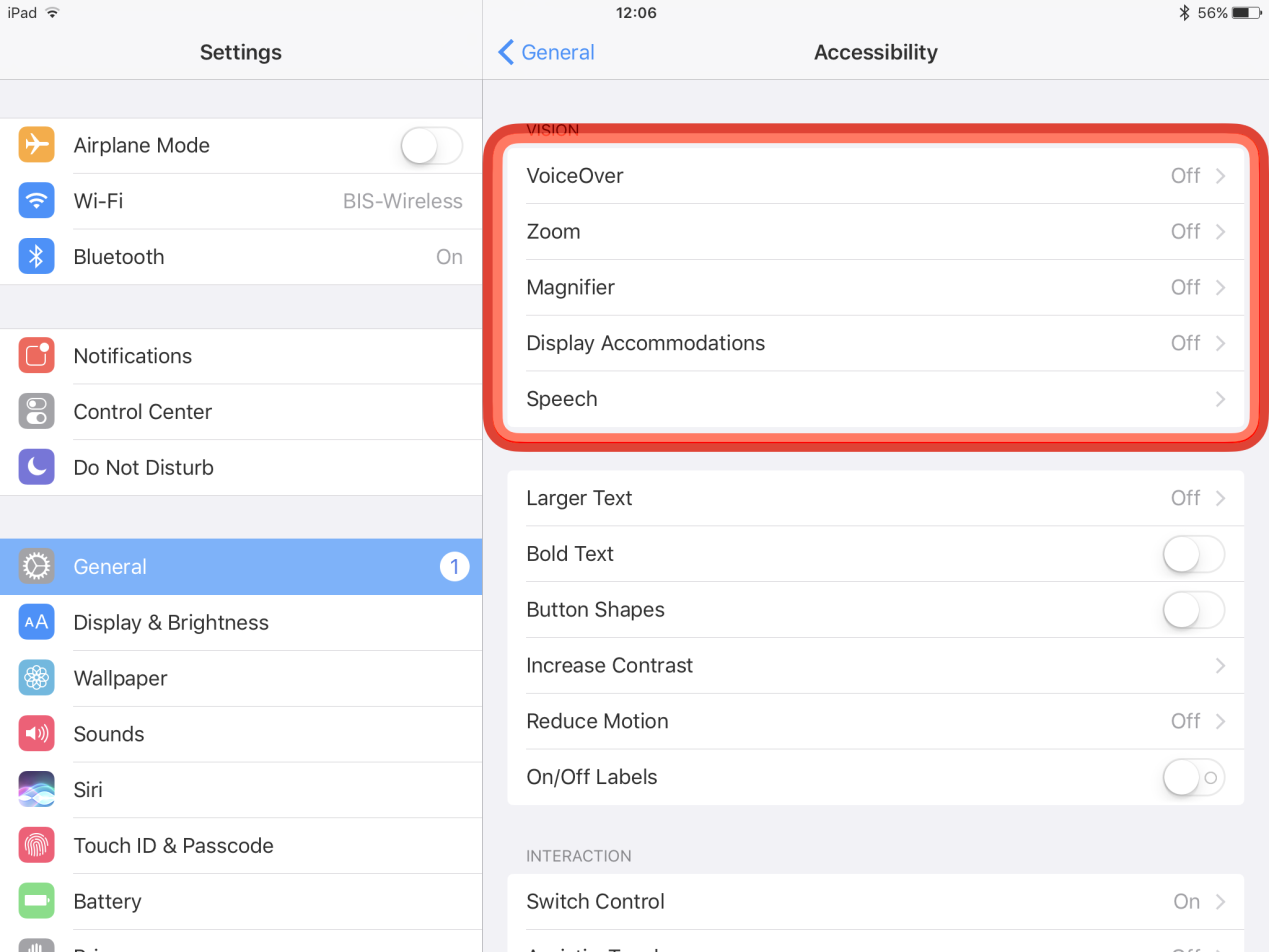
2. Manual Scanning – requires the use of two switches. One switch is used to scan between items and the other is used to select.
A good example of apps to be used in this way are the Step by Step series of apps. http://www.sbs-edtech.com
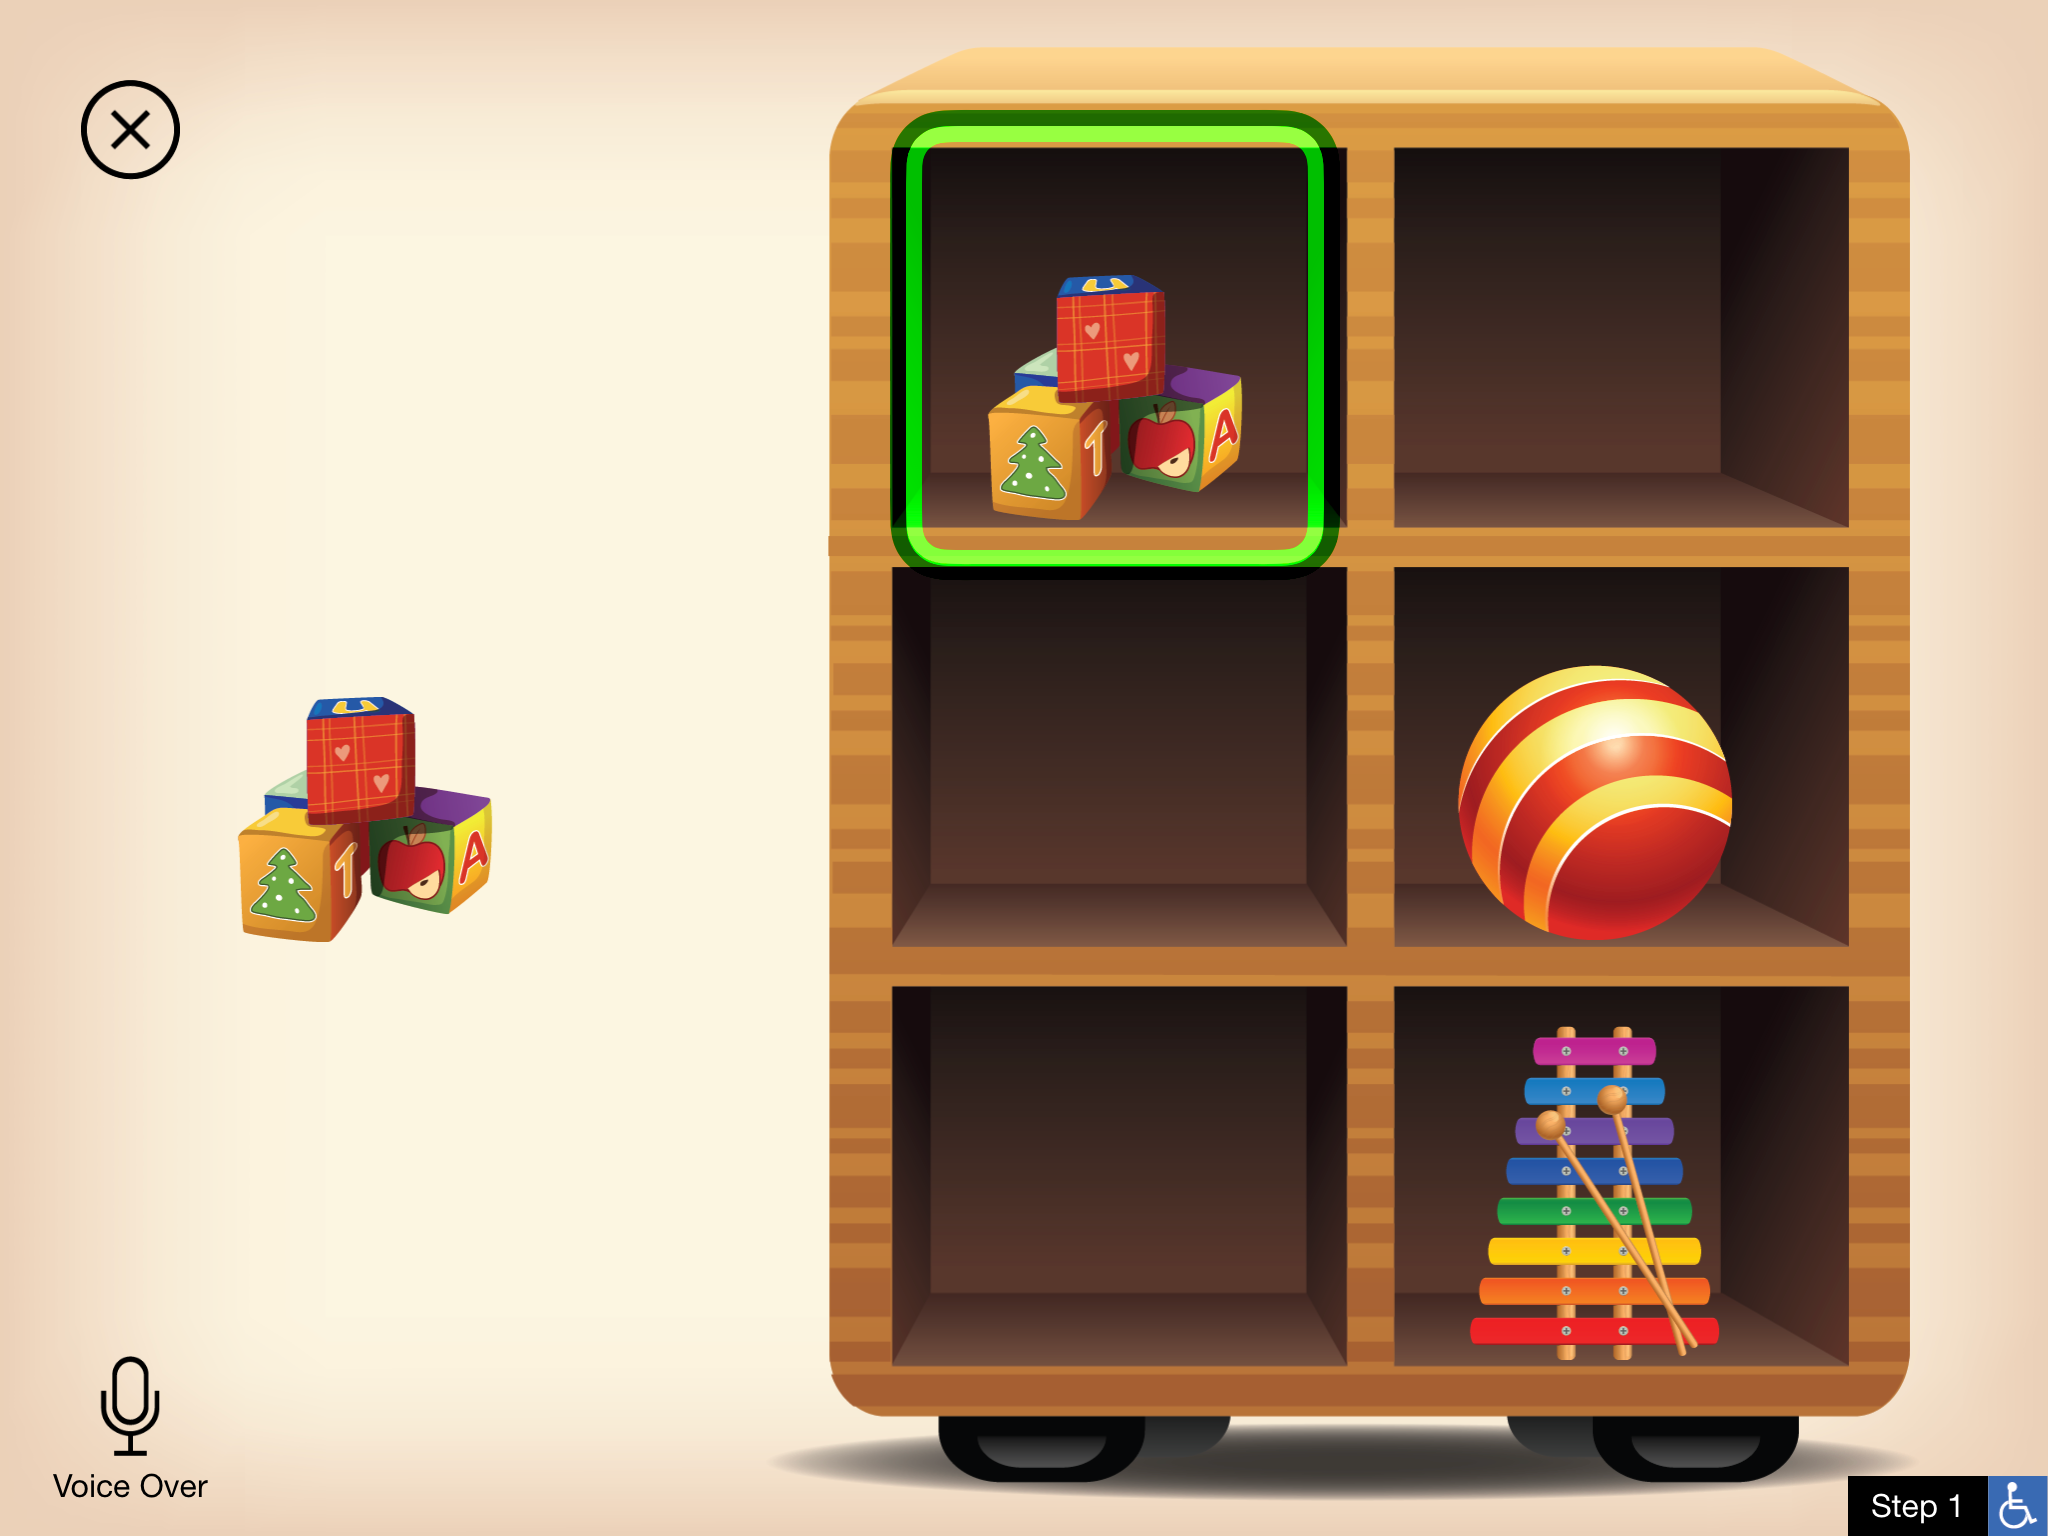
‘Same Same’- One of the apps by Step by Step. The apps are developed to work with iOS Switch Control automatic and manual scanning
3. Single Switch Step Scanning – In this method a gliding cursor moves across the screen in vertical and then horizontal planes. The user presses the switch when the gliding cursor hits the desired object on the screen. This method is used for apps or screens that are not switch accessible. Once a point is chosen, a task menu pops up requiring the user to scan through and choose the desired action on the chosen object. (tap, drag, pinch, etc…). Use of this scanning style requires good switch timing skills, cognitive skills and familiarity with iOS and the available functions.

Single Switch Step Scanning
Reminder: When using switch accessible apps, it is unnecessary to turn on Switch Control in Settings, rather just hook the switch or switch interface up to the device via Bluetooth and use the app. The user will most likely require assistance to open the app and to setup the switch.
For more information you can look at Apple’s website


Leave a Reply