
Typing on a virtual keyboard can be challenging for many people, an issue we experienced first-hand in our work at the Special Education School at Beit Issie Shapiro. When the incredible developers at SAP Labs, Israel, approached us for ideas for collaboration we jumped at the opportunity to develop a virtual keyboard app that allows for customizing the typing experience according to the user’s needs.
Some of IssieBoard’s, unique features include:
- changing the colors of the background, keys, and text
- giving a separate color to specific keys
- deciding on specific letters that should be present,
- and more…
Issieboard is useful for children and adults with:
- learning difficulties
- visual impairments
- motor impairments
- cognitive impairments
- those learning to type, and more…
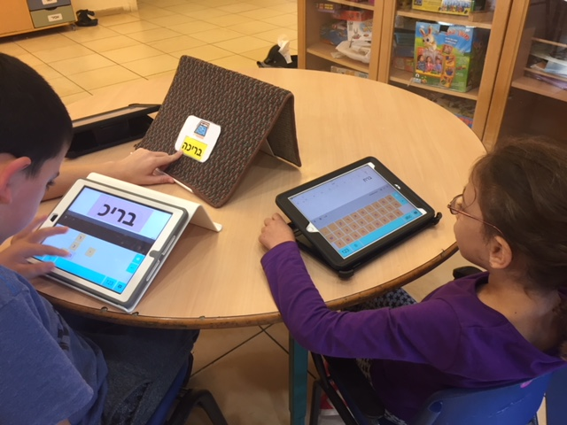
There are a variety of options to choose from maximizing the customization for each user.
The keyboard is available in either English, Hebrew, Arabic, or any combination of two of those. It will download in the default language of your device, but the language can be changed in the app settings.
First steps: Downloading and installing Issieboard
Once you’ve downloaded the app, make sure to add the keyboard to the device’s keyboards in Settings. (Settings – General – Keyboard – Keyboards – Add New Keyboard – IssieBoard)
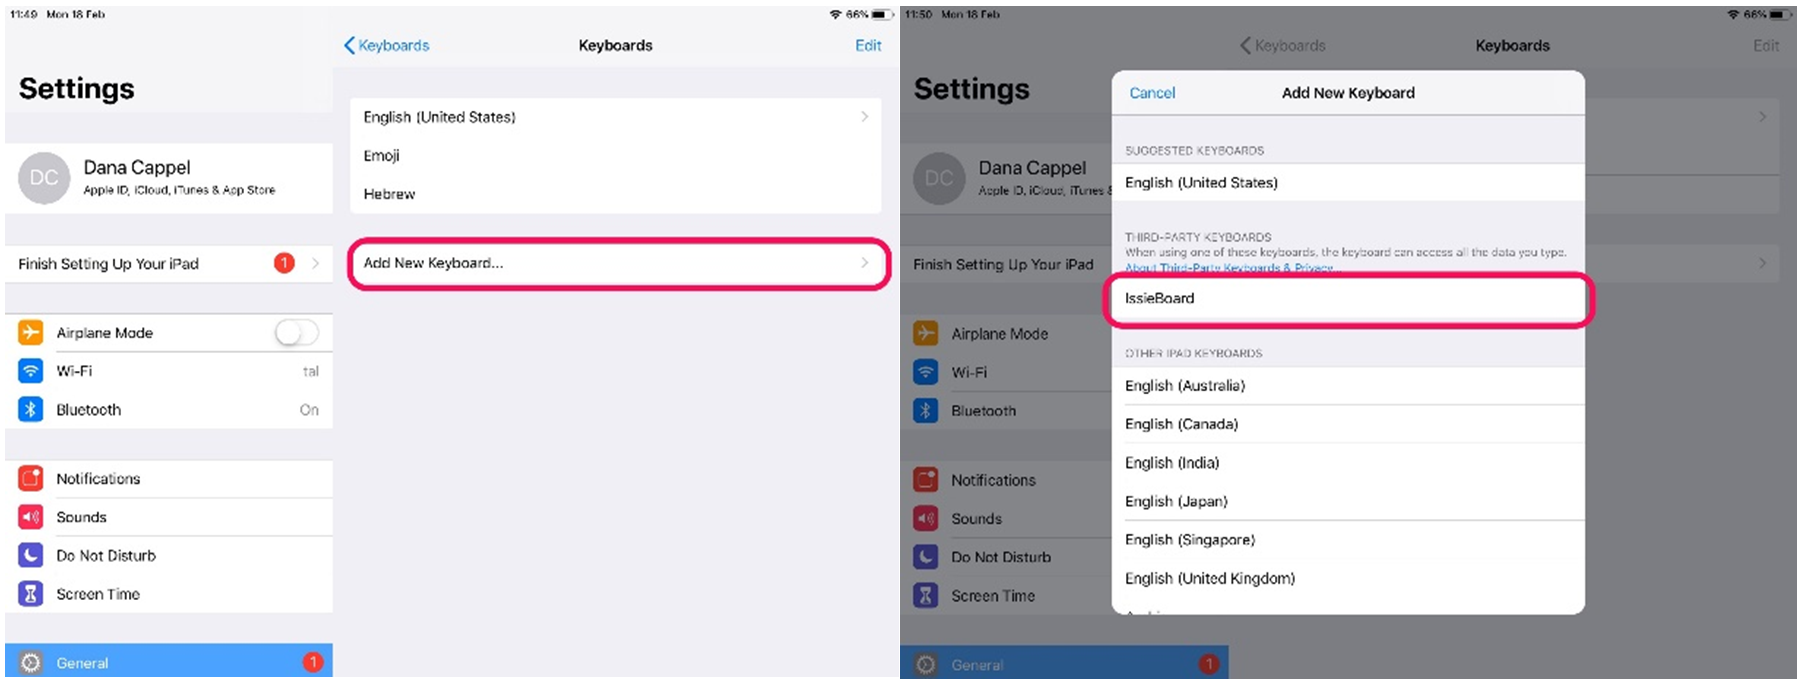
After setting up the keyboard it can be used in any app on the iPad or iPhone that requires typing, by switching between keyboards using the globe key located next to the Space Bar.
Using Issieboard: Settings
Designing and changing the features of your Issieboard keyboard are done through the Issieboard app.
Reset
Use the Reset button to go back to default keyboard settings at any time
Language
Under the Language tab you can choose which language you would like your keyboard to be in.
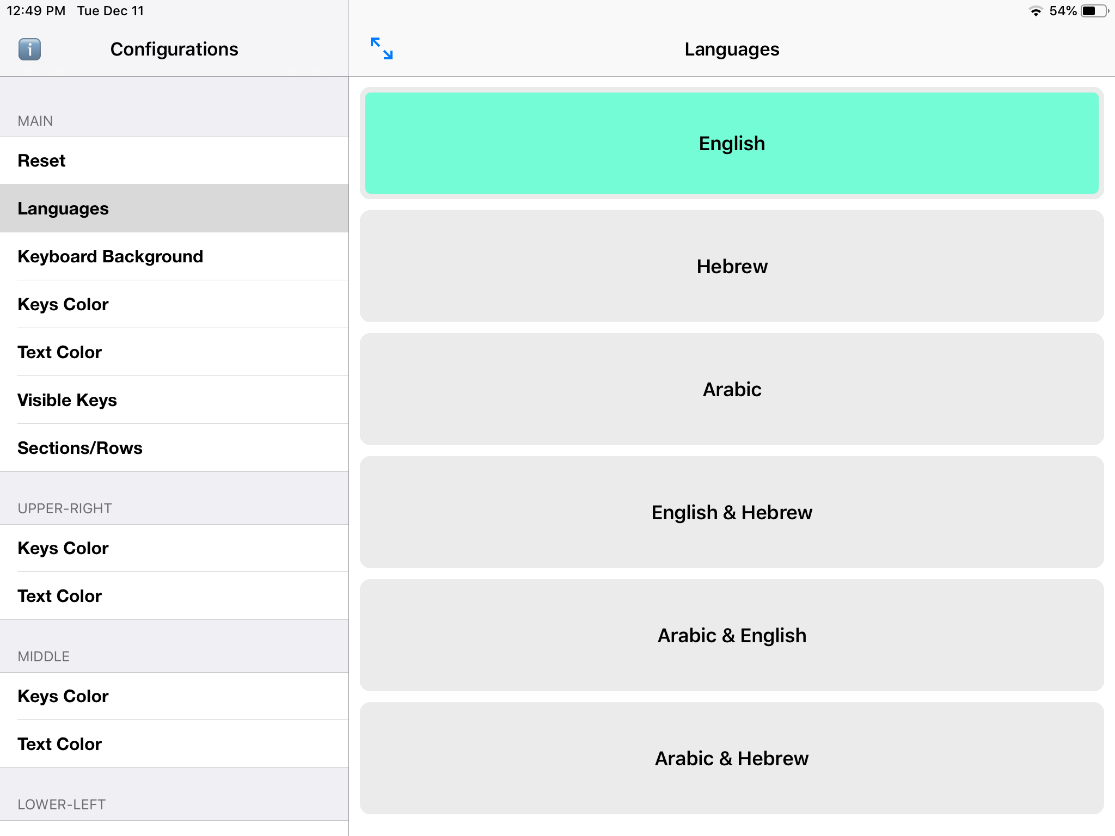
Choosing language screen in Settings
Key Color, Letter Color, Keyboard Background Color
The first section after language on the settings bar on the left allows you to choose your colors. The first three tabs are as follows:
- Keyboard background color
- Key color
- Letter color

You may press Show Keyboard on the preview screen, at any time, to see what your keyboard looks like. If you see the native iOS keyboard when you press on Show Keyboard, it is because your iPad last used the native iOS keyboard. Simply press the globe key to toggle to Issieboard as your active keyboard. Press on Hide Keyboard to hide it again and keep working.
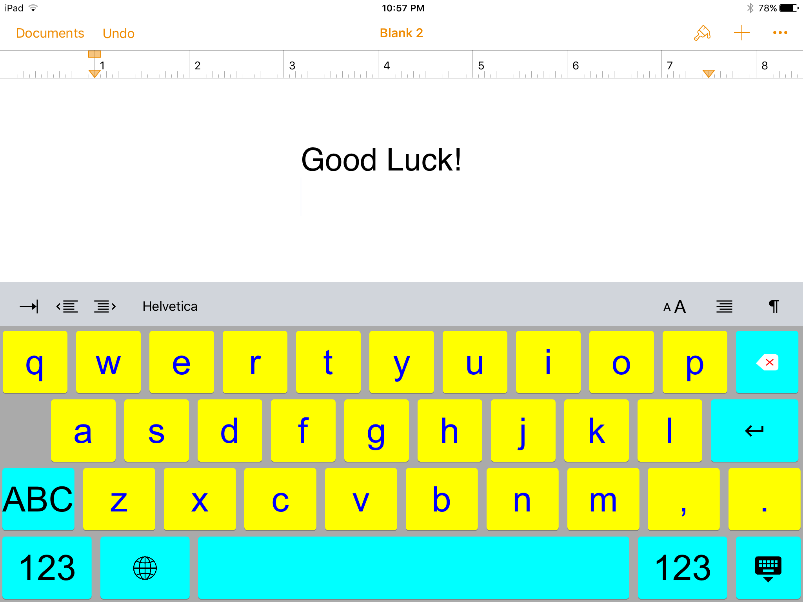
Here is what a sample keyboard may look like:

Notice the “ABC” button on the left side. It is here where you can toggle between upper and lower case letters. Numbers and symbols can be accessed directly underneath it with the “123” button.
The next item in Settings is Visible Keys. We will address this feature later on in the post.
Key Color, Letter Color, Keyboard background Color by Section (Left-Middle-Right) or by Row
You can also decide to divide the keyboard up into sections or rows, giving each a different color.
Press on the settings tab Sections/Rows and you will see this screen

There are now two new buttons on the preview screen. The left button allows you to set colors by rows and the right button by sections. Back on the tool bar you can now choose the color of the keys and of the text of each row or section. Here are examples of what that may look like.


Special Keys Definition– Coloring specific letters
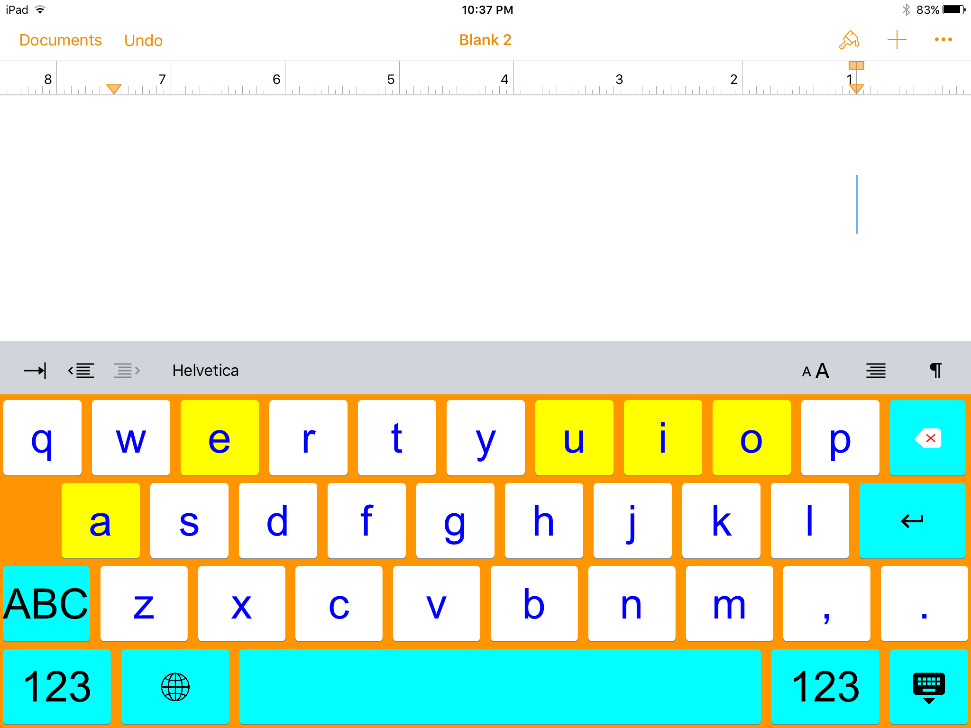
Moving down the tool bar, the next settings tab is Special Keys Definition. This setting allows you to have certain letters on the keyboard to be a different color, to stand out from the rest of the letters. When you press on this tab a window appears in the preview screen. Type the letters you want highlighted in this window, then choose the color of the keys and the text.
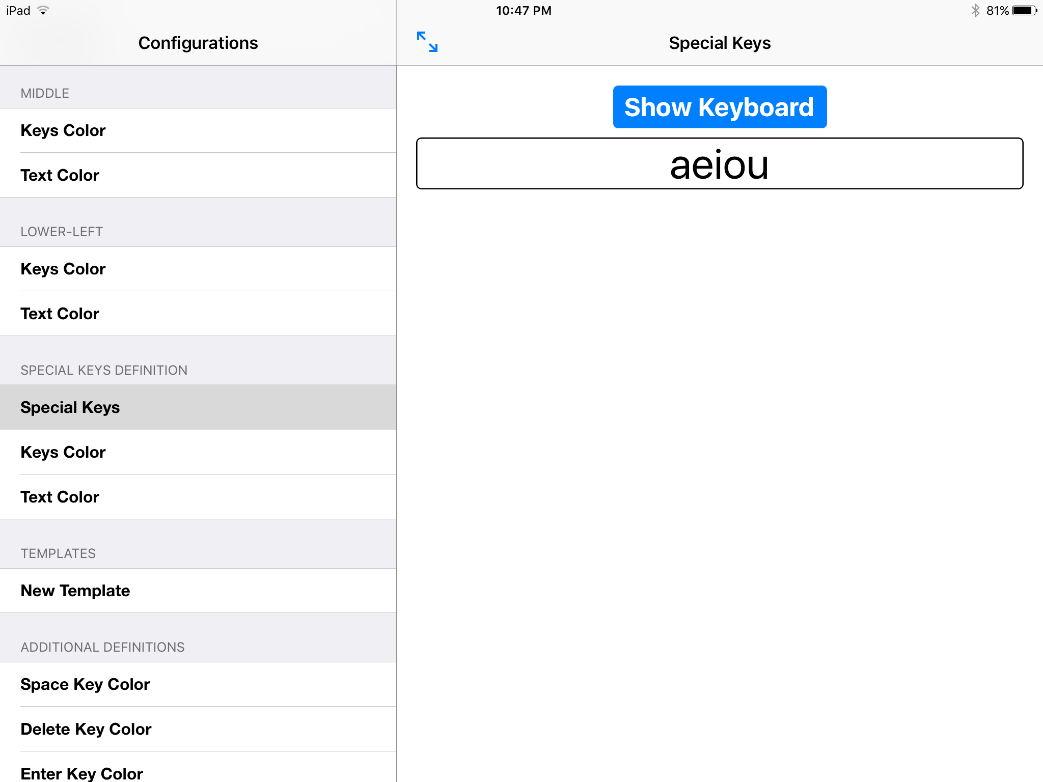
This could be helpful, for example, when learning to type new words, or to highlight vowels. Using the example above, the keyboard will look like this:
Visible Keys
Choosing specific letters to appear on the keyboard (All others will disappear. Useful for practicing typing of target words).
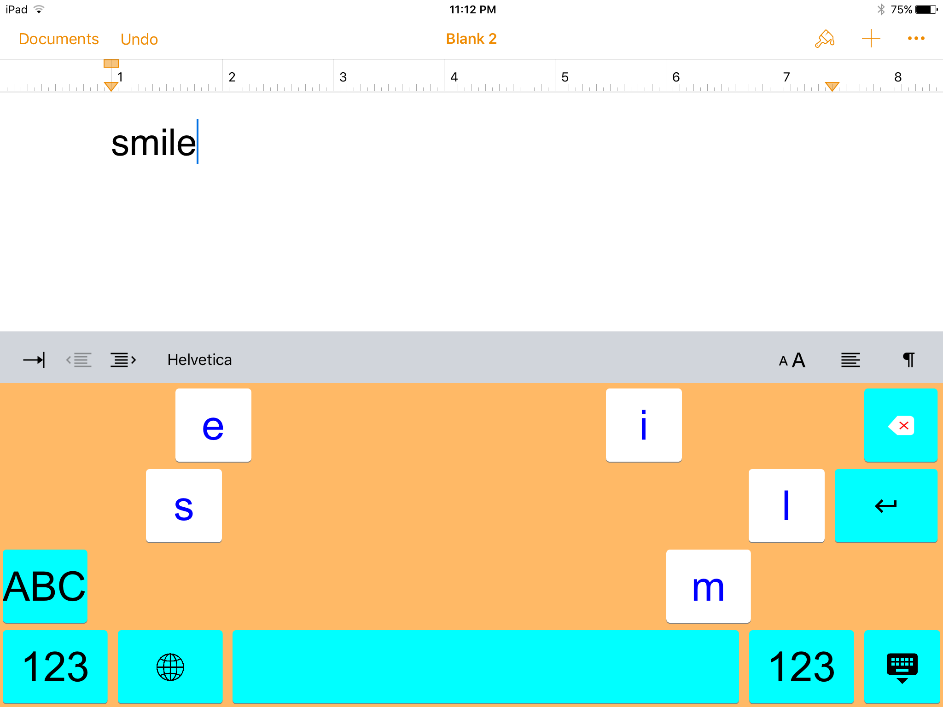
This is the most unique feature of the IssieBoard keyboard. This tab can be found up near the top of the settings menu just under the main color settings. This setting allows you to choose specific letters that you want to appear on the keyboard. Simply type the letters you want in the window under the Show Keyboard button. This feature can be especially useful when practicing the typing of specific words.
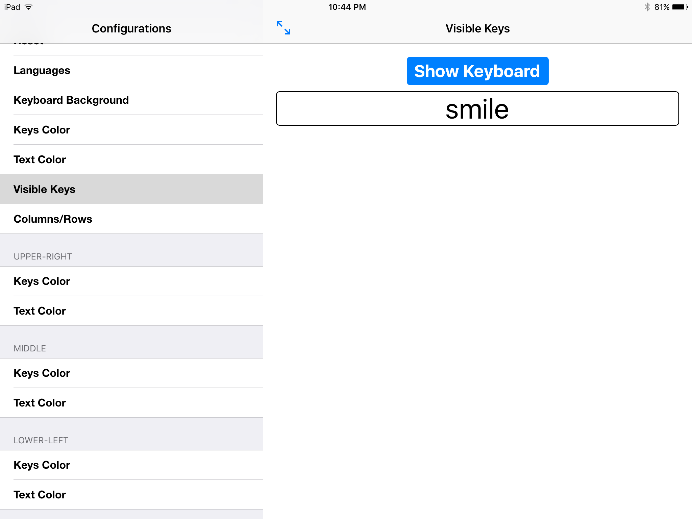
In order to return to the full keyboard return to this window and erase the letters. Now when you press “Show Keyboard” you will see all your keys. You can also press “Reset” at the top of the settings menu, but this will return you to the default keyboard and not keep any color changes you may have made.
Here is how your keyboard will look:
Templates
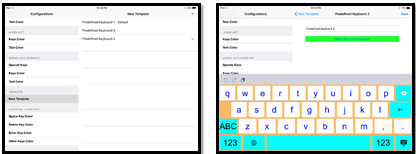
IssieBoard comes with pre-made templates which can be found in the Templates tab in the settings tool bar. Press on “New Template” to access them.
You can also create your own new Templates and save them. This can be very useful when working with more than one student on a single iPad. Simply create a new keyboard, then once you are done, scroll down to Templates, press on “New Template”, press the + sign in the top right corner, name the template, and it will be saved in your templates list.
To use a specific IssieBoard template on your iPad, you must enter the IssieBoard app, scroll down to “Templates” and press on “New Template”, choose the template you would like to use from the list on the right, and press the “Select current keyboard” button highlighted in green. This is now the keyboard that IssieBoard is using and will show up when IssieBoard is chosen for typing in another app. Now when you are in an app such as Pages, and you choose your IssieBoard keyboard using the globe button, this is the keyboard you will see. To change the keyboard template you must return to the IssieBoard app and repeat this process. (The globe key next to the space bar toggles between keyboard apps or languages that you have installed on your device. It does not toggle between your different IssieBoard keyboards or templates that you have made).
*Please note that if you choose a pre-made template and want to change its language setting, you must choose the keyboard language after tapping “Select current keyboard”.
Additional Definitions
The next tab down in the settings tool bar is Additional Definitions which allows for additional settings such as choosing specific colors for the backspace, enter and space bar keys.
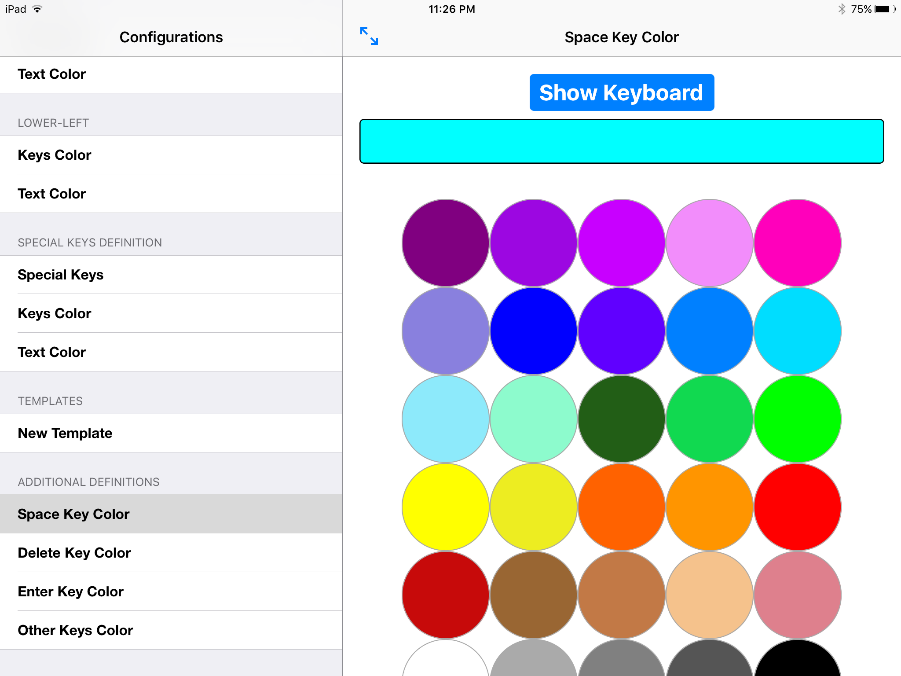
Once you have customized your keyboard, leave the app and go to any app on the iPad that requires typing. To choose your customized IssieBoard press on the globe key beside the space bar to toggle between keyboards and choose IssieBoard.
Design Tip: When designing your keyboard it is always a good idea to include the client in the design process. Just the fact that they are choosing their own colors can have a positive effect on their motivation to type. Of course, therapeutic considerations are necessary, but knowing client preferences is also important.
For Hebrew and Arabic speakers:
Diacritics
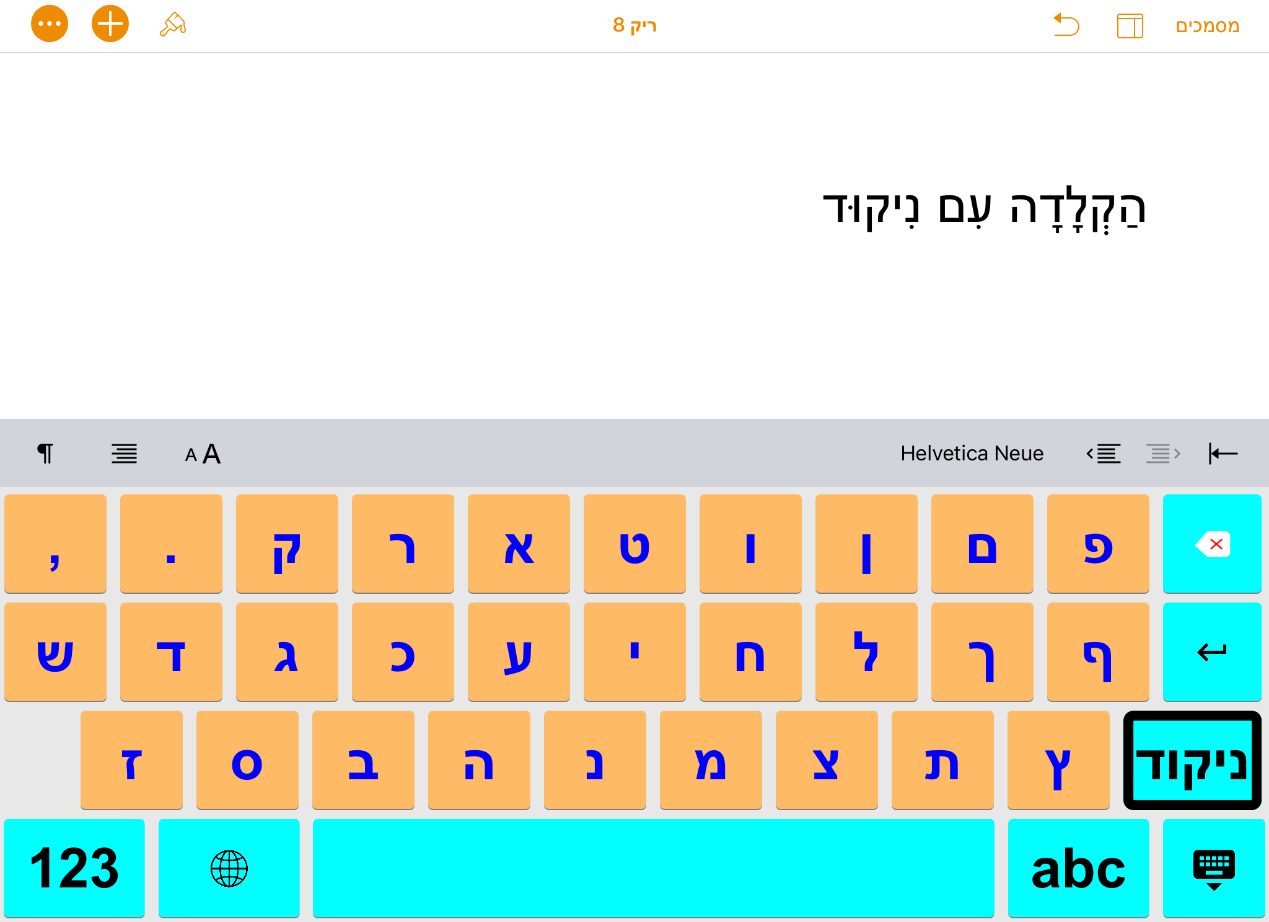
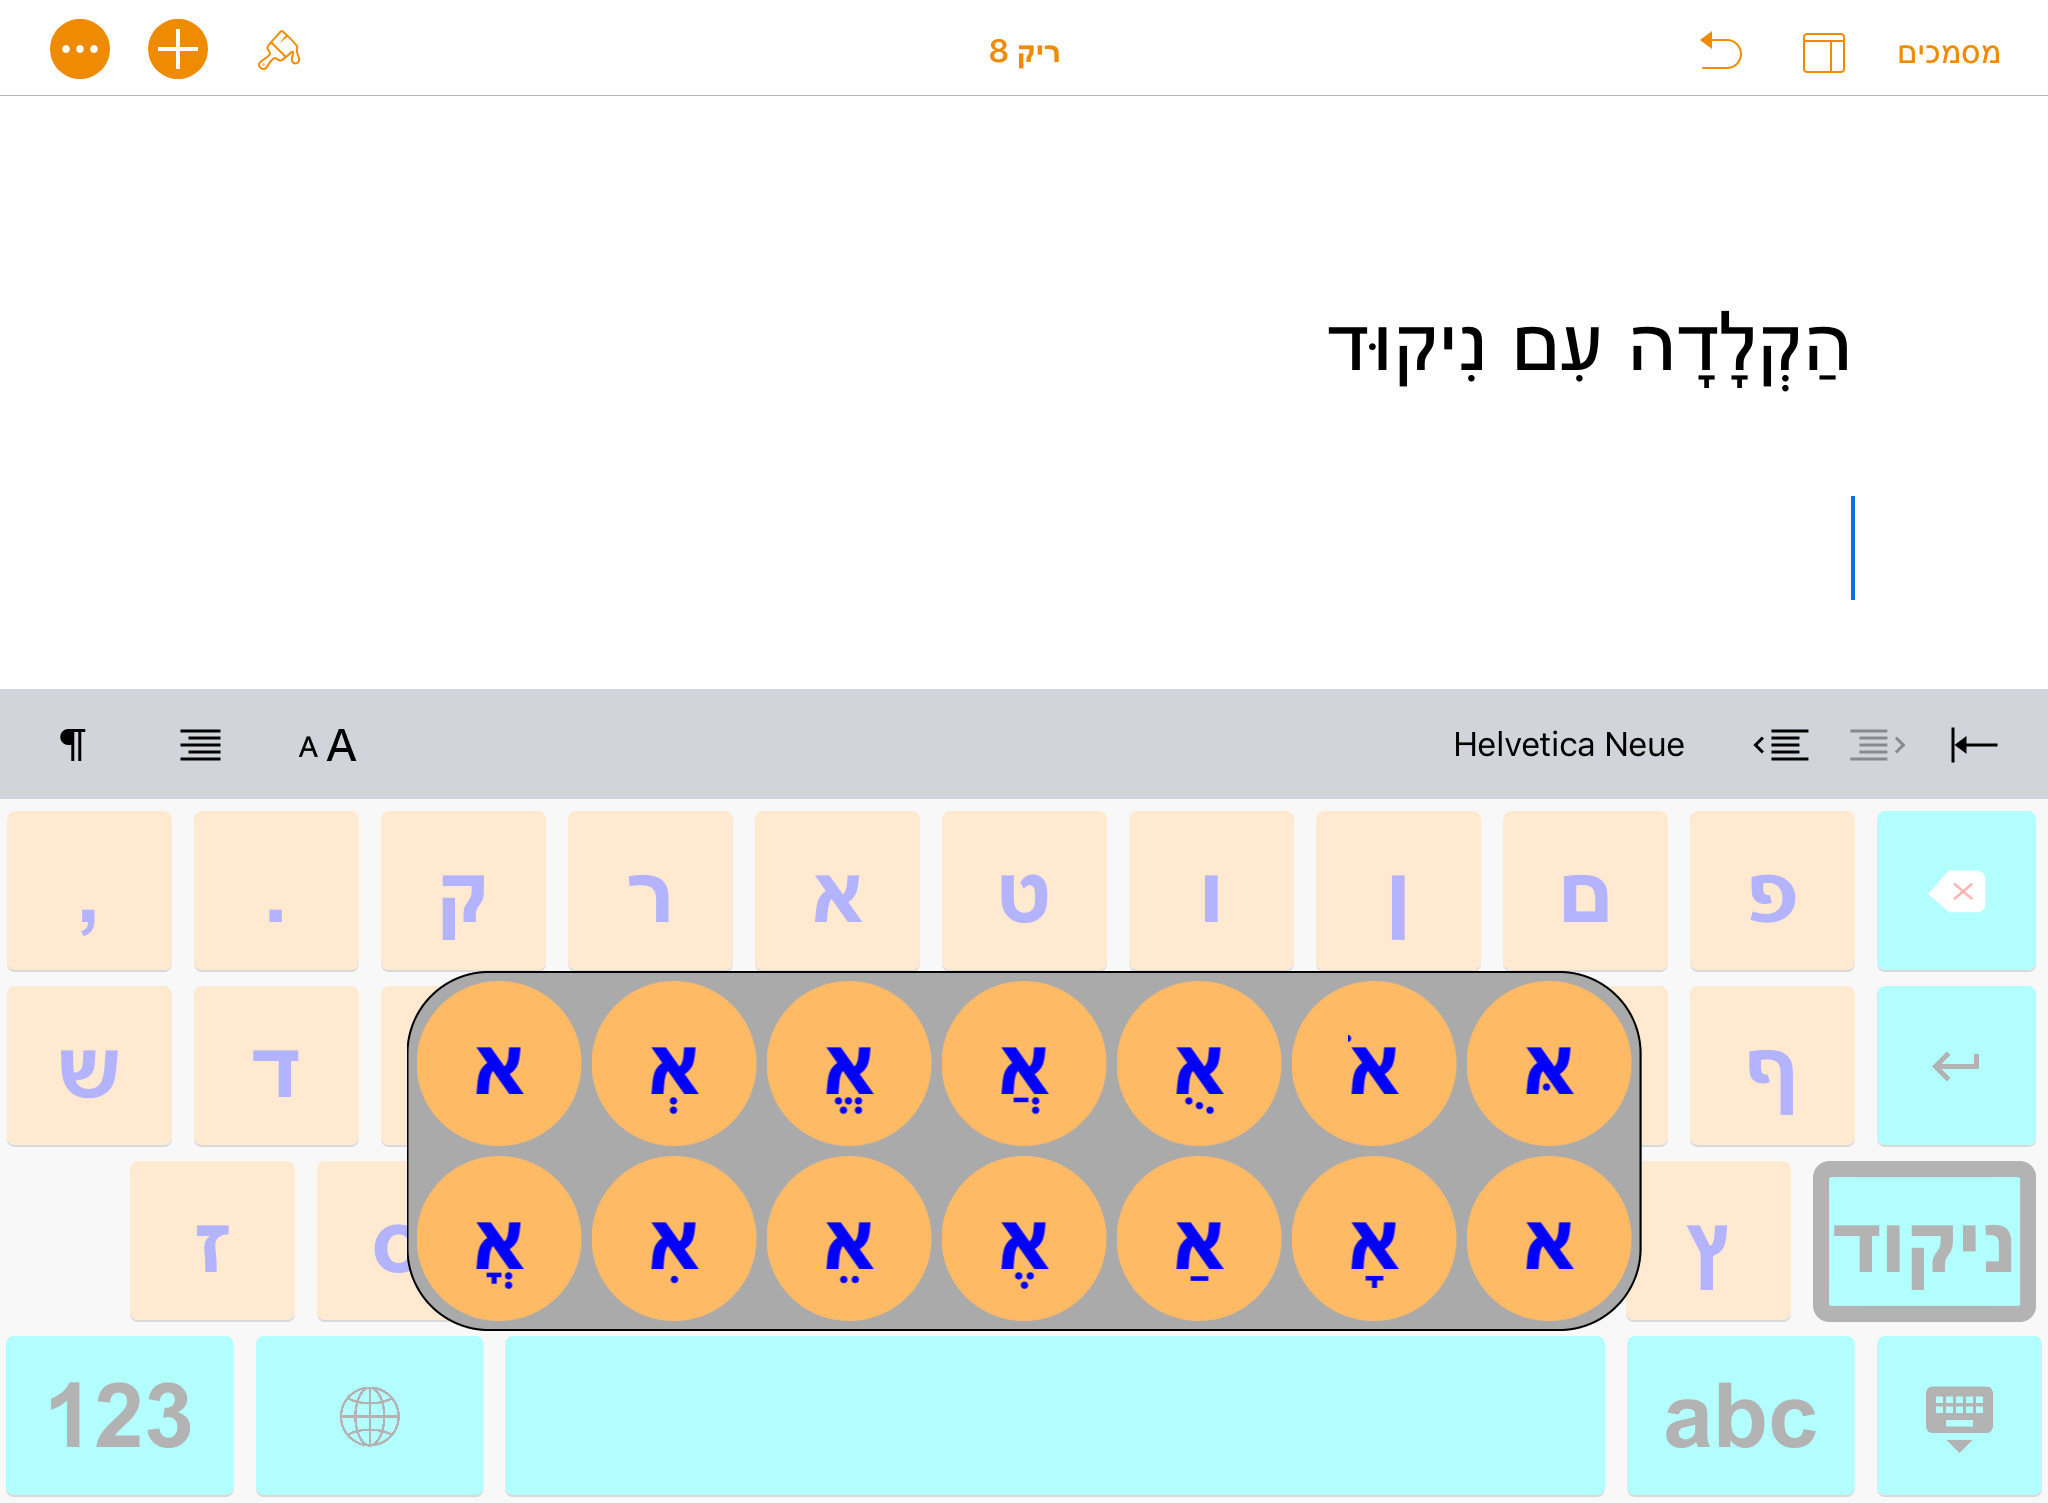
For Hebrew and Arabic users there is the option to add diacritics, or vowel markings, to typed text. Press on the “ניקוד” button to highlight it. Now, each time a key is pressed, you will have the option to choose the vowel you would like with it.
Be sure to tell us of your experiences and of course contact us with any questions you may have!
Email us at techitissie@beitissie.org.il


There is a great software to add Hebrew nikkud into MS-Word / Indesign easily and quickly. Its name is Rav-Nakad: http://nikkud.com/?page_id=58